How to Take Orange Tips Off Airsoft Gun
How to Take Orange Tips Off Airsoft Gun
Want to give your AEG or GBB a fresh coat of paint, but dislocated nearly where to outset? Don't sweat! We'll walk yous through the basics, prep, and some finer points of breaking up your airsoft gun'southward natural black silhouette.

Painting your gun for the first time tin be a flake intimidating if you lot aren't quite certain how to go about it –and there'south definitely something slightly unnerving about taking those first steps in altering your gun'due south sleek, all-blackness advent.
However, painting your gun is quite easy once you get the hang of information technology, and tin add both a touch on of personal flair and assist with darkening to kicking!
Choosing Your Paints
First things start–a word about paints! While many folks like to stick to the standard Krylon flat camouflage line, I personally prefer flat model paints available from Tamiya, Model Masters, and Testors, which yous can by and large find at whatever model-oriented hobby shop.
Not merely is the range of colors much more varied (compared to Krlyon's typical khaki, brown and olive drab), only the paints tend to clothing much more quickly besides – which is awesome if you're later on that iconic "battleworn" expect but want it to occur naturally!
Now that we've got out of the mode, let's get started!
What You'll Need
- The airsoft gun you lot're going to paint (duh)
- Your pigment of choice (duh)
- Some type of surface to paint on, such every bit a flat cardboard box
- A mesh laundry bag if you'd like to add a sort of 'snakeskin' blueprint to your gun
- Standard painter'due south tape if you're concerned virtually covering up whatever office of your gun – such as the muzzle, any trademarks you don't desire to paint over, the hop-up unit of measurement, etc.
E'er start past giving your gun a good wipedown of all exterior surfaces. We want to give the pigment the cleanest surface possible to bond to, so make sure you don't have too much built-up grime or gunk anywhere on your receiver, rails, stock, etc.
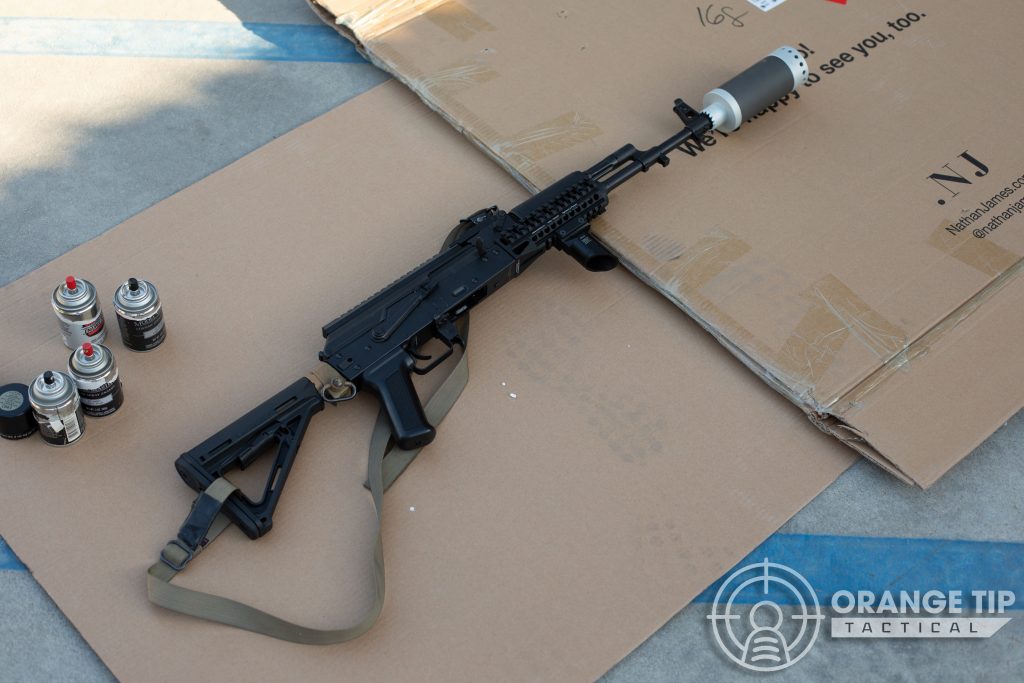
Try to go into your project knowing roughly what kind of pattern you're aiming for. Personally, I tend to stick to alternating diagonal stripes, but information technology'southward important to lay down a base of operations coat first.
Generally, I like to go from the darkest colour in my palette upwardly to the lightest, so my base coat hither is going to be comprised of Model Master Light Earth.
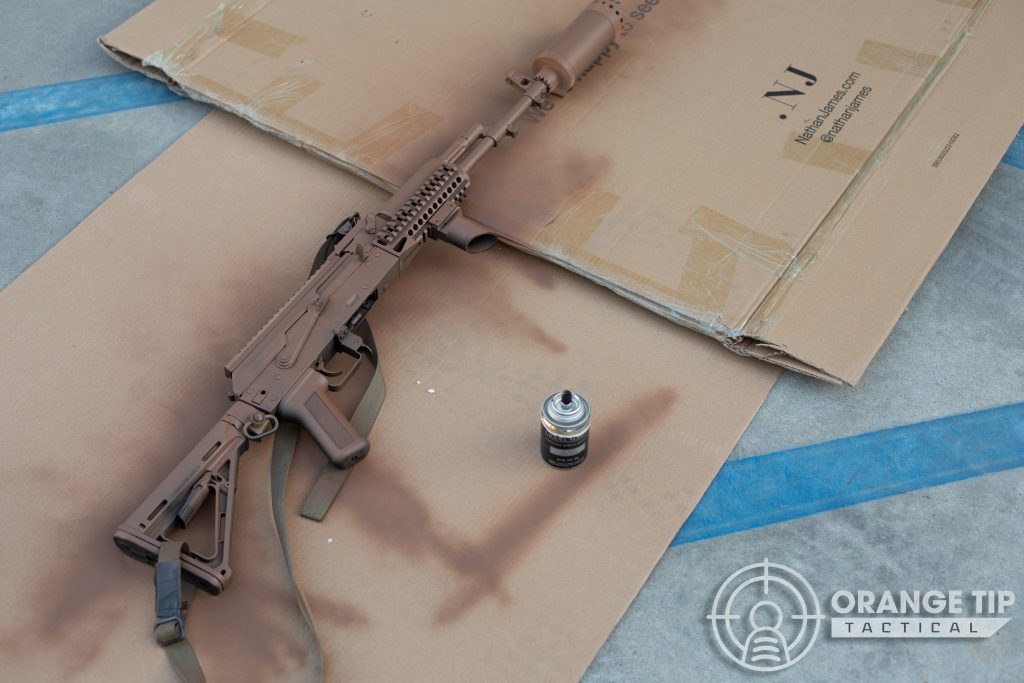
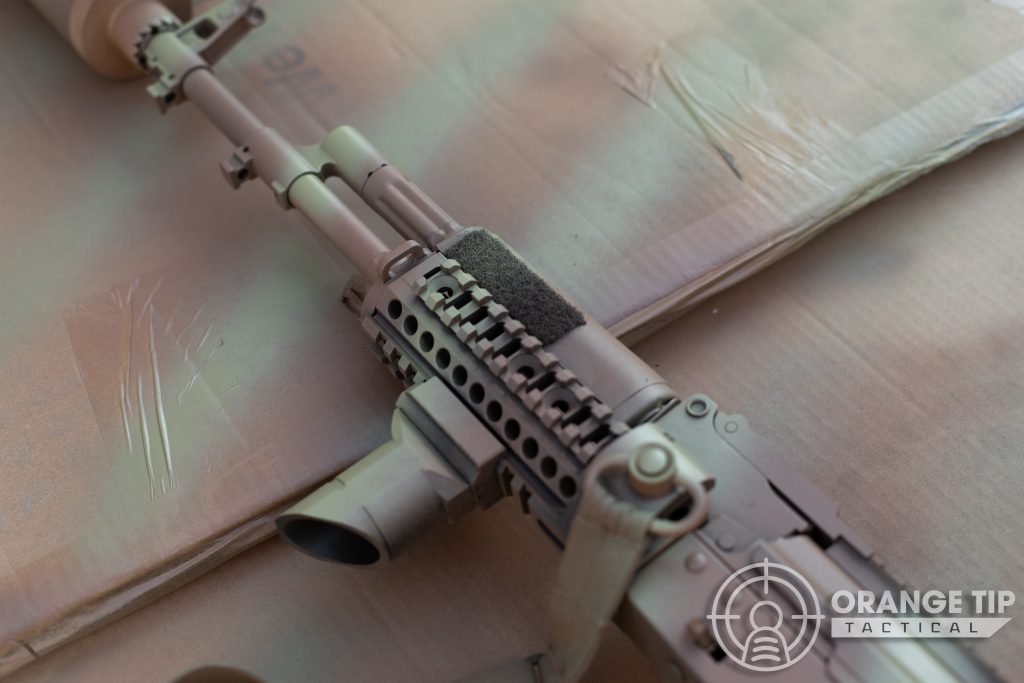
As you can see, there are some parts I didn't hit very hard, and that'south intentional. The goal is to apply brusque, brisk swiping motions to "grit" the gun to your desired level of colour saturation from near ~1-ii feet abroad from the receiver. Make sure you lot're not holding downwardly the spray nozzle and creating pools of paint! A trivial goes a long way.
You'll as well notice that I don't normally bother taping upwards my magazine well or butt, but I've got pretty good control with the can and am not super worried about it. If information technology'southward your first time, y'all may want to consider taping these areas off just to requite you some peace of mind!
Depending on the temperature of your environment, you'll desire to give the pigment ~iii-v minutes to dry before flipping only then that you don't smudge it.
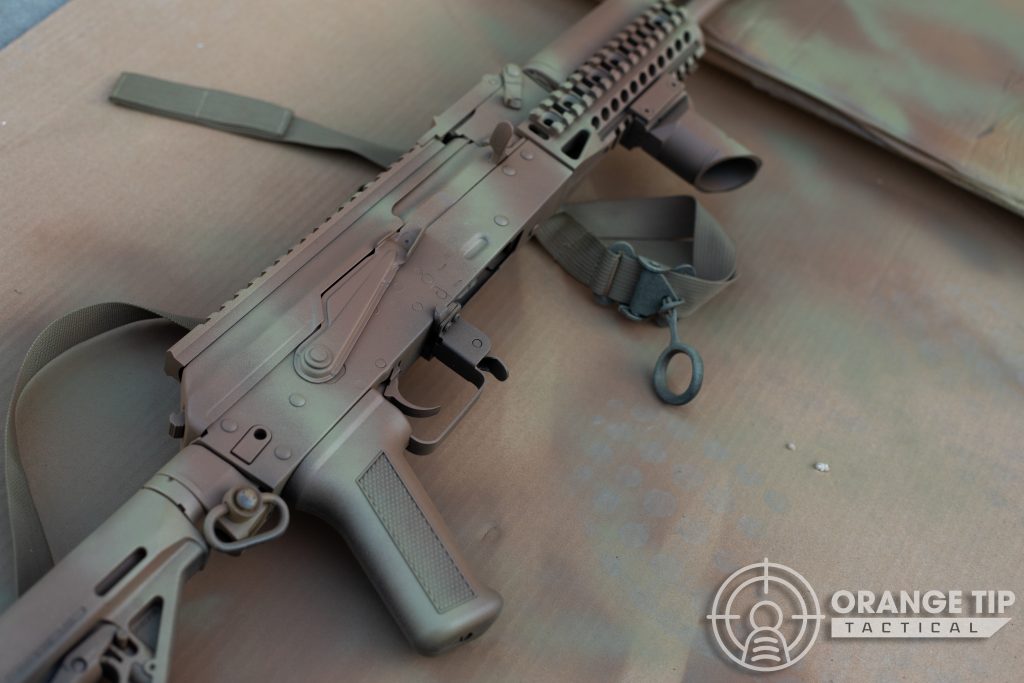
Now that we've got our Light Globe base of operations tone sprayed evenly on both sides, it's fourth dimension for some stripes! I chose to go with the next darkest tan in my palette–Model Master SAC Bomber Tan, equally it creates a nice contrast between the Light World base.
While contrast isn't generally something y'all want in a paint task meant to blend in, we're going to go back and smooth these lines out subsequently, so don't worry.

Don't get caught up also much with the placement of the stripes or making sure that they're perfectly even–very rarely do you discover perfectly geometric shapes inside nature, and presumably, you'll be attempting to hibernate within a natural environment, then have fun with it!
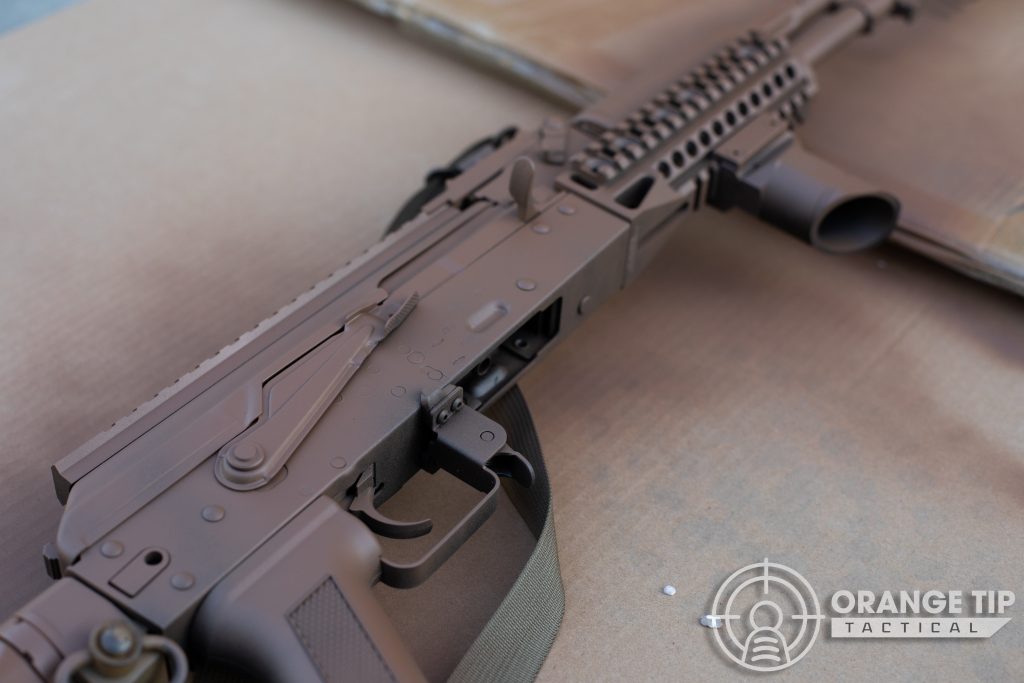
I normally work from the rear towards the muzzle of the gun, using the same brisk swipes to create diagonal disruptive lines that likewise lean towards the cage. This is what I find works all-time for me, but again, experiment!
I'll normally effort to match upwards my stripes on the reverse side of the receiver, which makes adding connective splashes of color across the acme plane of your burglarize much easier than doing information technology in reverse, as seen below.
Now that nosotros've got our basic framework out of the way, it'due south time to start working in our master colors!
This gun was painted specifically to blend into the environment of the Colina 559 airsoft field in Clovis, California for Milsim West's Road to Kharkiv consequence. As Hill 559 by and large tends to be quite light-green this fourth dimension of yr, nosotros're going to brand this a primarily greenish rifle–but at that place are obviously many other naturally occurring colors even in a greenish-dominated surround.
We start with our 'earthy tones' first and add together greens on peak, as it's roughly similar to the way these colors nowadays out in the wild.
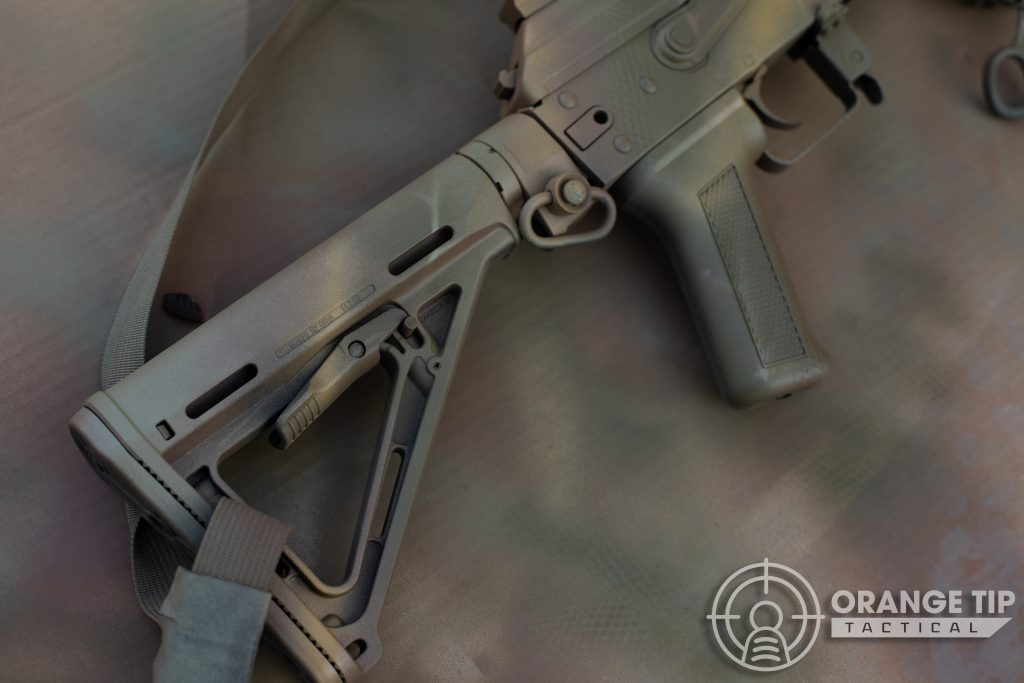
Time for green! I'one thousand using Model Primary Olive Drab for this portion, as I quite similar that it's a lot closer to a vintage military machine green than your standard Krylon colors, which tend to exist a bit as well dark for my taste.
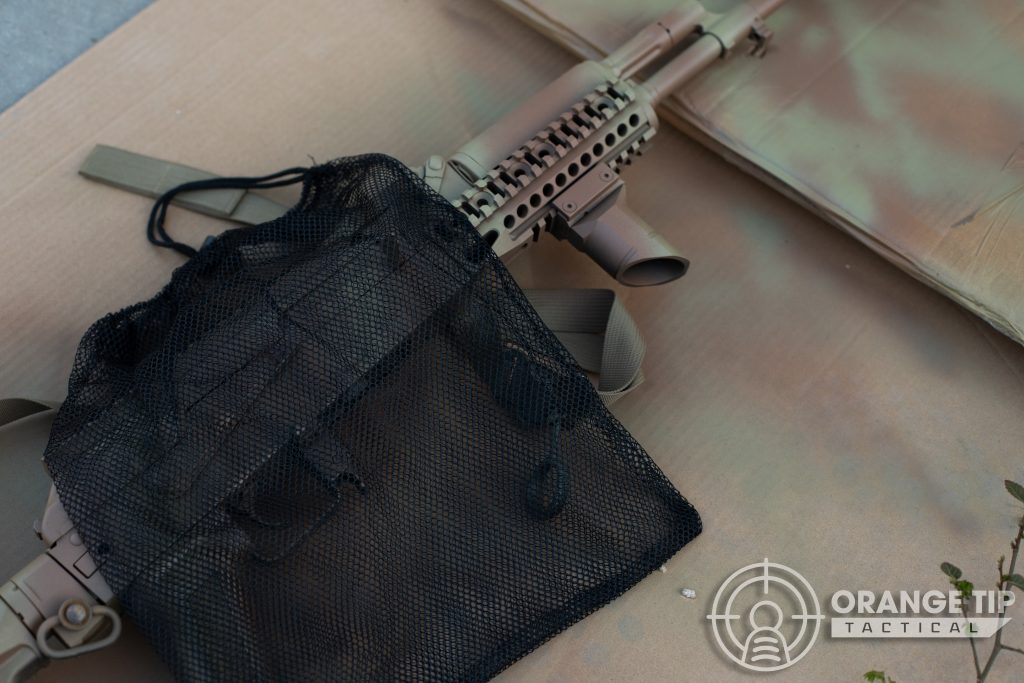
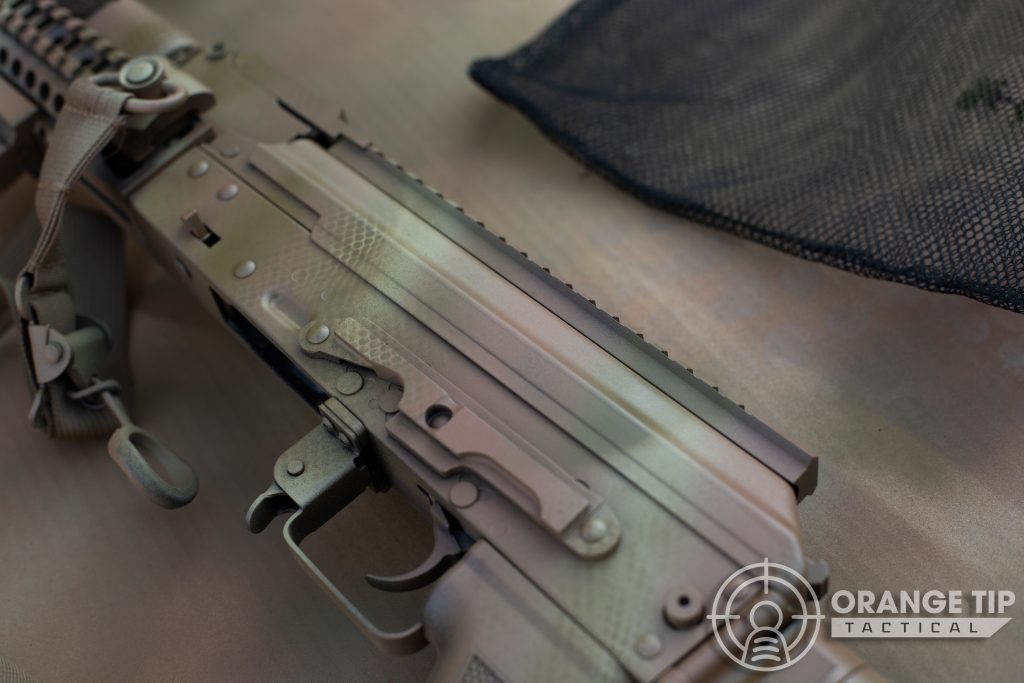
This is also where nosotros'll start using our mesh laundry bag to begin creating a "snakeskin" pattern on the rifle. Make sure you lot've got your handbag as apartment as possible if you want crisper lines, and further away if you'd like them a scrap fuzzy. Play around and see what works for you!
I like to use our olive drab to begin "blending" the space between our lite globe base of operations glaze and tan stripes. This reduces contrast overall and will help with breaking upwards the gun's shape.
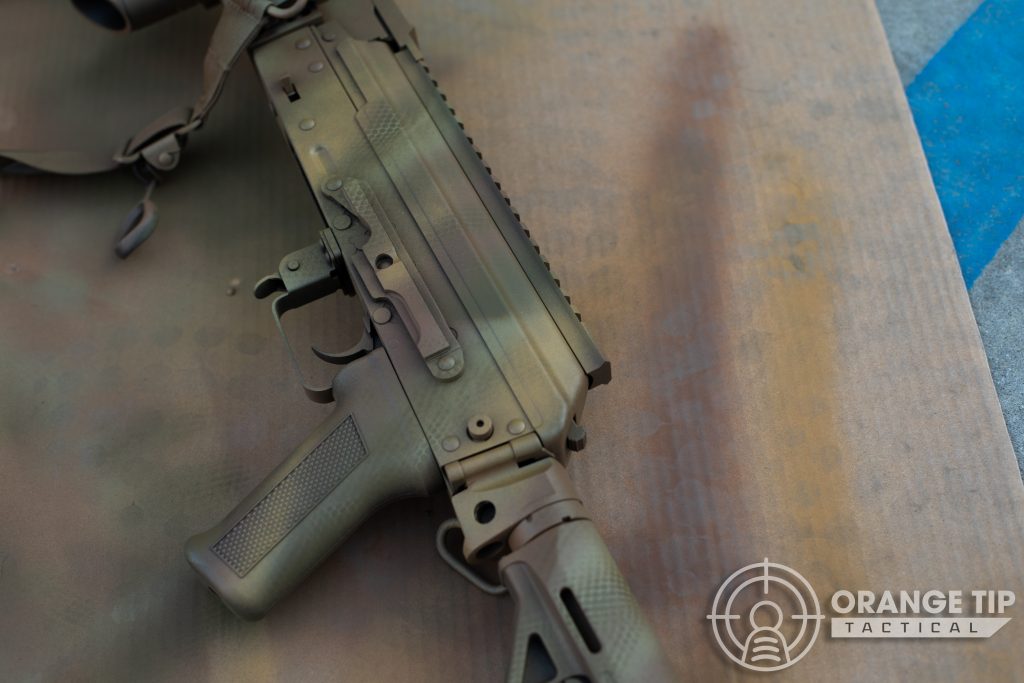
Y'all can likewise then ditch the bag and add some farther light-green dusting forth the edges of the snakeskin design then that your green layer fades in and out of the pattern. This should help ensure that no one item area is going to draw too much attention to the eye.
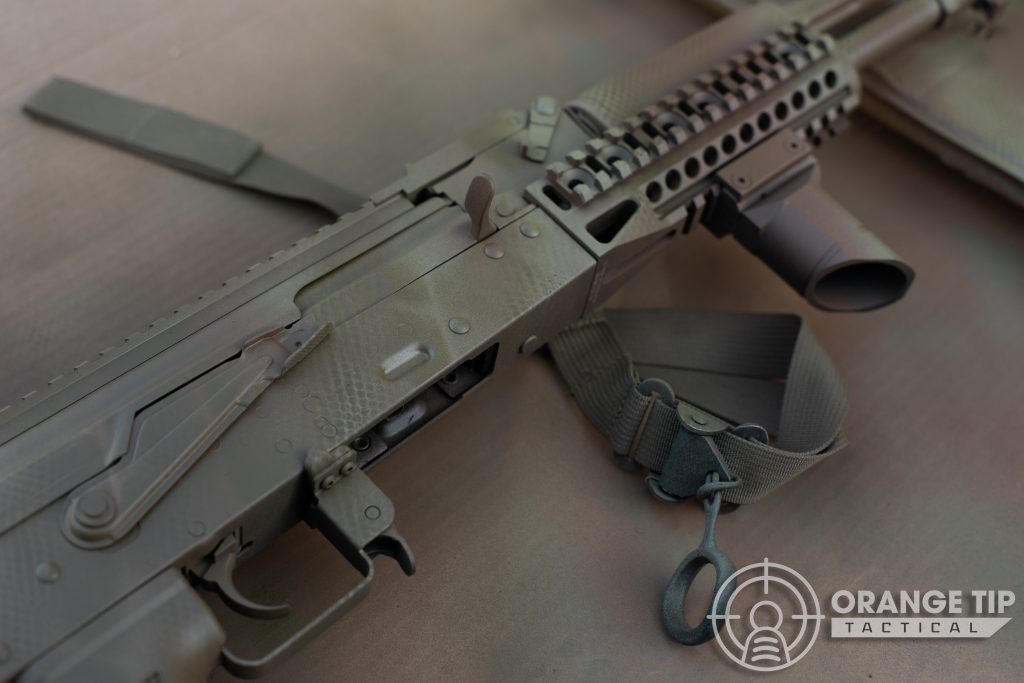
I and then applied the same process to the other side of the receiver, getting a niggling chip more liberal with the application of the olive drab equally the whole pattern starting coming together. Again, there are no rigid rules here, and experimentation is always going to yield the best results.
You can go equally heavy or as light as yous desire in the application of the pattern! I personally tend to recall something a fleck more subdued that sort of picks up and disappears on tiptop of our base colors looks best.
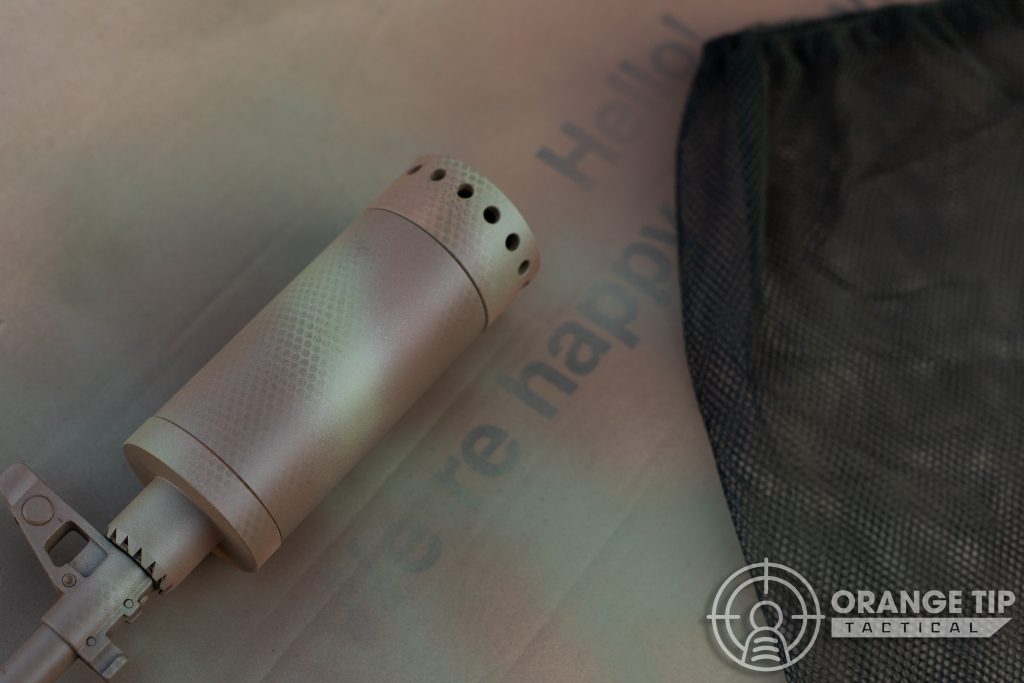
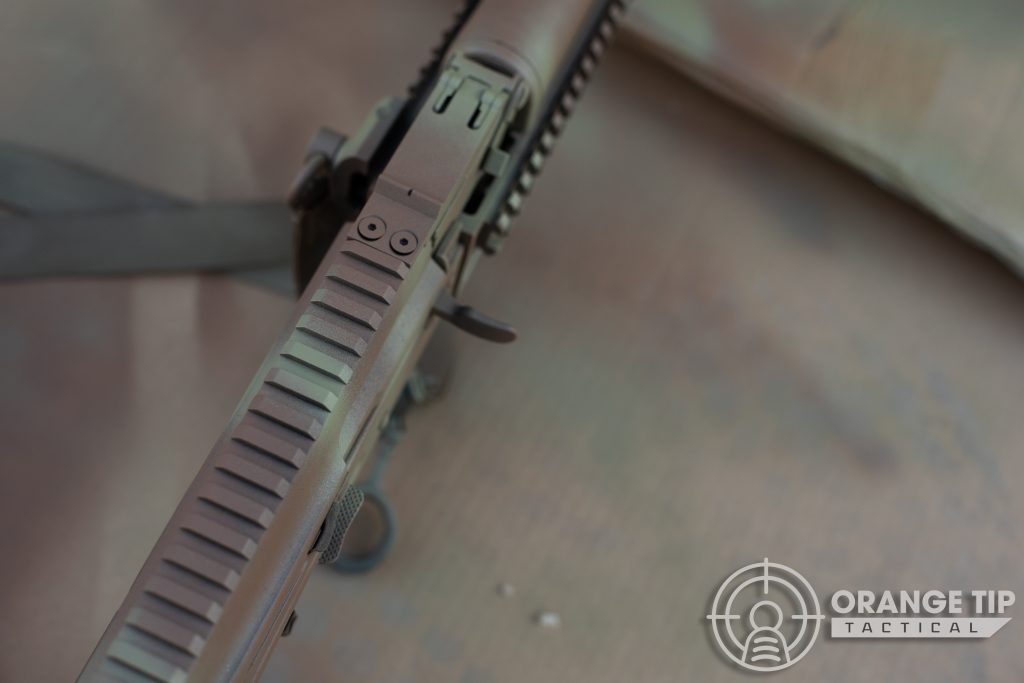
Finally, we're going to add together one of my favorite colors to paint with overall–Model Chief Afrika Mustard! While the sort of obnoxiously brilliant yellow doesn't blend into much on its ain, it does a pretty great task of simulating the tone of dead underbrush when mixed into an existing palette, and that's exactly what nosotros're going to do here.
Using the same idea as earlier, nosotros're going to "split up the difference" and use the Afrika Mustard to begin blurring the lines between our existing colors so that they begin to menstruum pretty seamlessly into 1 another. Compared to our previous striping layers, you lot'll likely desire to be a scrap lighter here – the goal is a nice, subtle "dusted" effect more than than a assuming, obvious line.
Keep blending!
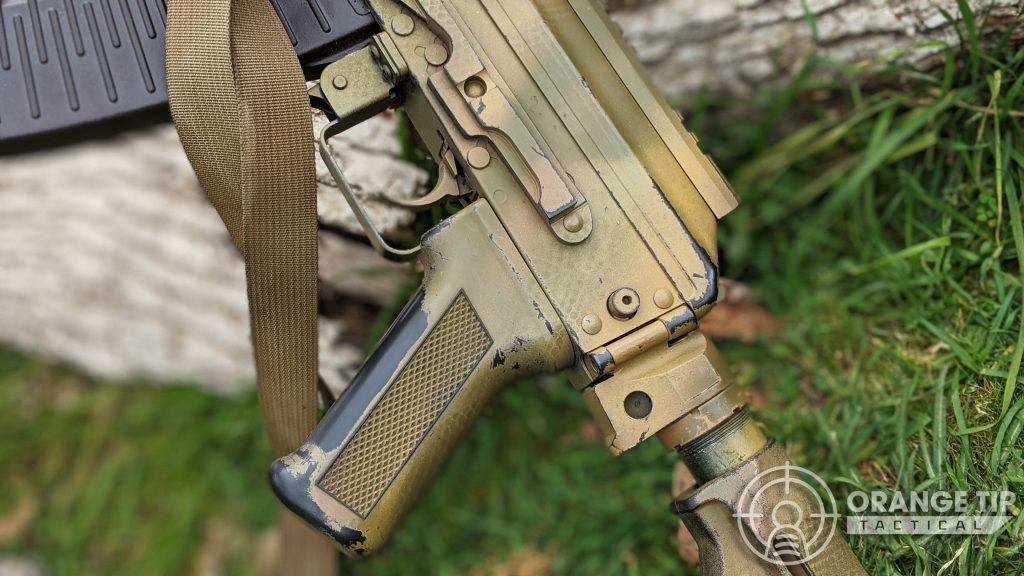
By all ways, don't feel limited to sticking with lines facing the aforementioned direction! Every bit I'1000 nearing the cease of the paint job here, I began adding more splashes of color here and in that location only to break up any area that felt oversaturated with a dominant color, if that makes sense.
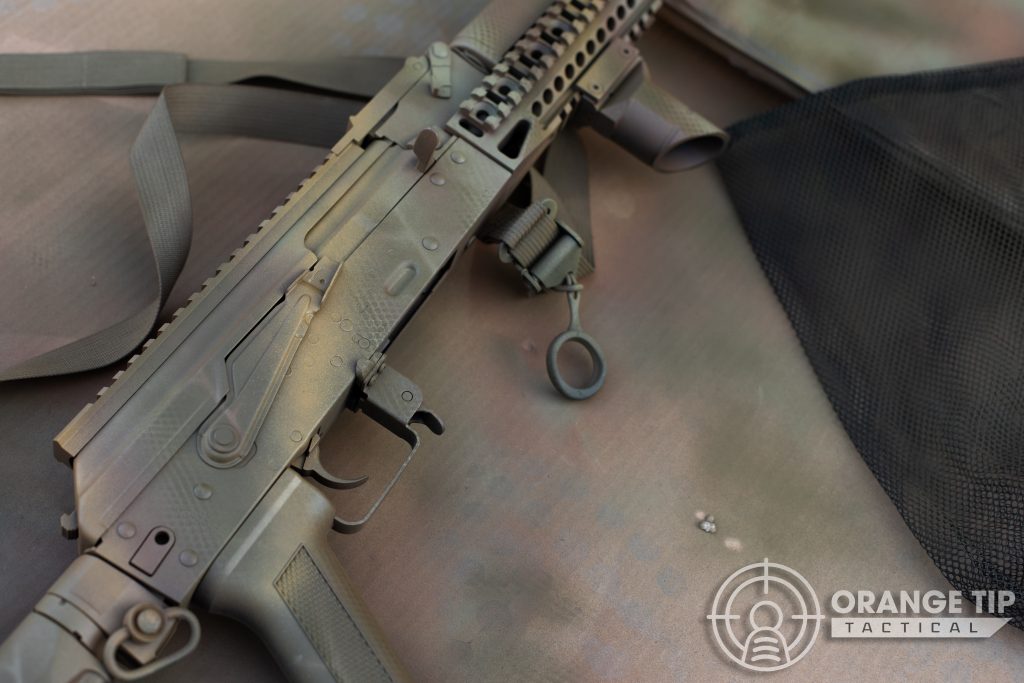
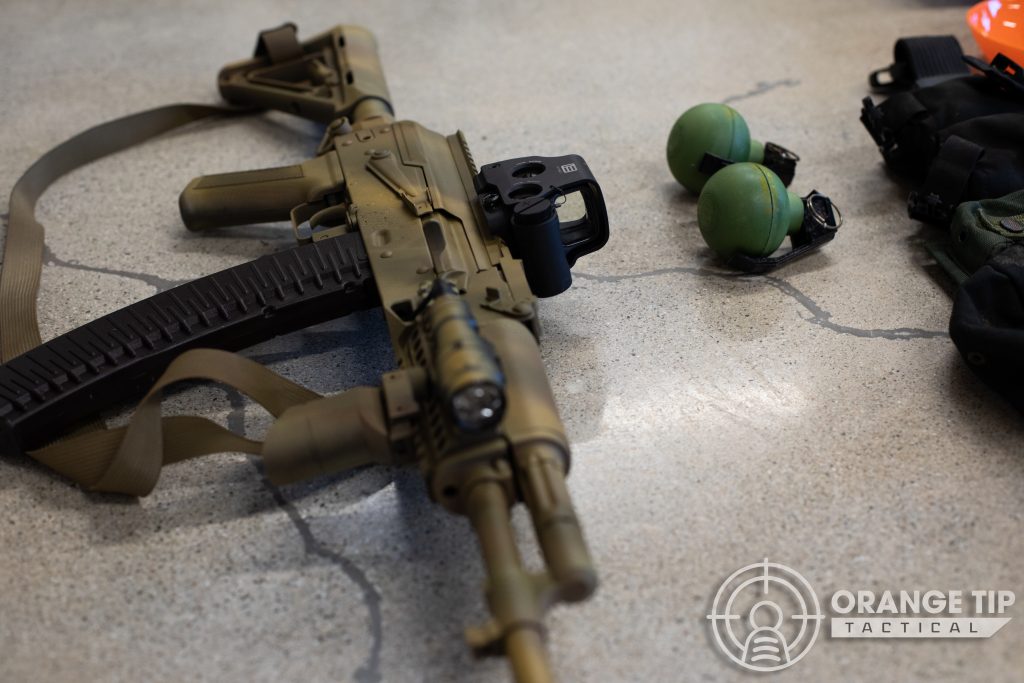
In that location really are no rights and wrongs here, and I tin can't emphasize that enough. Y'all'll know your environment better than anyone, and what color palette and pattern is going to piece of work best inside information technology. This wound upward being my finished product after my concluding blending procedure. I'g pretty happy with it!
The indoor lighting likewise does a bit better of a job at capturing the paint job'south true color tone than our outdoor, sunset lighting–so maybe this gives you a better idea of what I was going for:
And lastly, here's a shot from the field and event this gun was painted for, just for good mensurate!

Was this guide helpful? How did your paint job come up out? Let us know below! Getting set up for your first milsim event? Check out our milsim nuts guide!
How to Take Orange Tips Off Airsoft Gun
Posted by: allenmosiout1972.blogspot.com
0 Response to "How to Take Orange Tips Off Airsoft Gun"
Post a Comment